Huh..I finally started my Dacia Logan Tuned form GTA SA but now I have a problem :
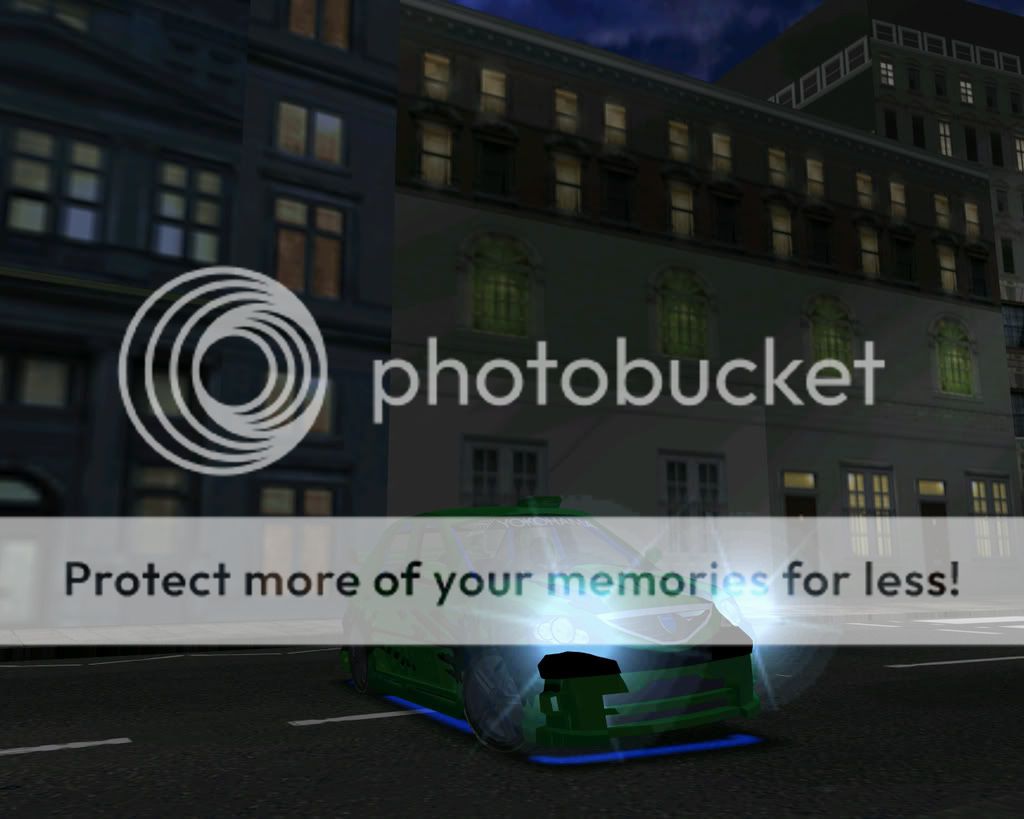
As you see, there are missing wheels. Why?? Where are the rest of them?
Please help pe URGENTLY!!
New convesion project
Dacia Logan Tuned
- vw-tuner-oburg
- MM2X Active User
- Posts: 548
- Registered for: 16 years 3 months
- Location: Germany
- Contact:
- Franch88
- MM2X Admin
- Posts: 15758
- Registered for: 16 years 11 months
- Location: Italy
- Been thanked: 1 time
- Contact:
Any GTA SA car has only one wheel model (the GTA VC ones has all), and you have to copy, rotate, move and adjust them in the other places.
Make a copy of the wheel doing a right click on it in the objects list on the right side of the program window and select Create Copy; name it WHL3_H:m. Rename the original wheel in WHL1_H:m. With the Modify... - Move tool move it on the back part of the car; before do this, use only the H axis and the right view. Now, do another copy of the WHL1_H:m object and rename it to WHL0_H:m. Click on the tool Modify... - Rotate, enable also the V axis (both V and H have to be enabled), set the degrees snap value to 90 and always in the right view you'll rotate easily of 180 degress the wheel object; after, with the Move tool adjust its alignament like the WHL1_H:m object. Finally, do a copy of the WHL0_H:m, name it WHL2_H:m wheel and then move it on the back par, like you've done before with the WHL3_H:m wheel. To finish, click on button Select All, enable the little button SEL and with the tool Display... - Center Axis do a click on one of the views, except the 3D one, to cented the objects axis. Deselect all the objects and disable the SEL function.
If you find problems to understand this, let me know.
I've moved this topic here because it's about an your project in progress; of course you can ask all the help that you need. I've removed the sticky property because there's a limit of 3 sticky topics per forum section.
Fiat 500 = Italian motorization. Franch88, MM2 eXtreme forum and website Administrator.
|Franch88's MM2 Releases|
|Franch88's MM2 Releases|
- Franch88
- MM2X Admin
- Posts: 15758
- Registered for: 16 years 11 months
- Location: Italy
- Been thanked: 1 time
- Contact:
About the car model texturing, in a conversion you have only to assign each texture to each material. In GTA SA car, some materials will result unused and they can be deleted.
To edit the materials, click on the button with an orange sphere placed in the main toolbar, it's called the Material Editor; you can also recall it pressing the E button. In the list you'll find all the materials with pretty the same names of the car textures. To load a texture, check the box Primary Texture, in Apply As list select Mix with color, set all white the material through the Material properties and finally click on the enable button Load Map... In the new window, click on Add... and open the texture that should be assigned to the schoosed material. To see in which part is assigned a material, use simple colors for it to see what material will be used. Another thing good do to for the same thing, is to unite all the objects for the BODY_H object and then split it for materials.
Here there's the textures part of the Silent1Unknown's tutorial, that can help you with the ZModeler 1 Material Editor.
PS: if possible, please reply to my last PM.
Fiat 500 = Italian motorization. Franch88, MM2 eXtreme forum and website Administrator.
|Franch88's MM2 Releases|
|Franch88's MM2 Releases|
- Franch88
- MM2X Admin
- Posts: 15758
- Registered for: 16 years 11 months
- Location: Italy
- Been thanked: 1 time
- Contact:
Fiat 500 = Italian motorization. Franch88, MM2 eXtreme forum and website Administrator.
|Franch88's MM2 Releases|
|Franch88's MM2 Releases|
- Franch88
- MM2X Admin
- Posts: 15758
- Registered for: 16 years 11 months
- Location: Italy
- Been thanked: 1 time
- Contact:
Thanks Kyle, I've made most of the work to it. What's wrong with the headlights? That blue color is made to make it look like a real tuned car; there are also the neons on the shadow at nighttime.The headlights aren't the right color but other then that good conversion.
Fiat 500 = Italian motorization. Franch88, MM2 eXtreme forum and website Administrator.
|Franch88's MM2 Releases|
|Franch88's MM2 Releases|
- Franch88
- MM2X Admin
- Posts: 15758
- Registered for: 16 years 11 months
- Location: Italy
- Been thanked: 1 time
- Contact:
They're just colored lights, nothing else. The xeon light effect is pretty good.I know what the objective of the light was supposed to be. Its called xeon lighting but the actual thing is not that blue and a bit more white
I don't see the use of a dashboard a priority for a such car. Vl4d initially told me to use my Dacia Logan dashboard for this car, but it isn't so appropriate, and more, this isn't a my conversion release, I've just helped in converting it doing a lot, and including the dashboard, it looked more a my conversion than the first Vl4d conversion.This car satifies me really, I love it! And that cool looking Banshee spoiler! Great team work! I prefer to use the dashboard from Franch's Dacia Logan. Maybe it wouldn't be very appropriate, but better than nothing.
Fiat 500 = Italian motorization. Franch88, MM2 eXtreme forum and website Administrator.
|Franch88's MM2 Releases|
|Franch88's MM2 Releases|
- Silent1Unknown
- MM2X Super Active User
- Posts: 2472
- Registered for: 15 years 11 months
- Location: Canada
- Contact: